
How To Preserve Breastmilk in Resin Jewellery
Full Tutorial
We love this step by step tutorial with all the tips you need to preserve breastmilk as a beautiful, lasting memory in resin jewellery. Thank you so much to Resin for Beginners for this fantastic blog post. You can find lots more brilliant tips and advice about all things resin on their blog page
Have you thought about commemorating your breastfeeding journey by preserving some of your milk in a piece of jewellery? Our tutorial is easy to follow and will create a simple but beautiful necklace.
Project difficulty: Medium
Project time: 2 days
What you’ll need
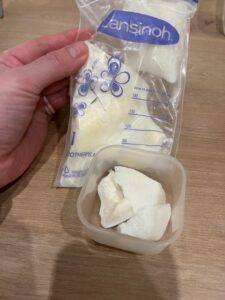
- Breastmilk – around 5ml will be sufficient
- Apex Resin Fast Cure
- Stirring sticks
- Gloves
- Scales
- Breastmilk preservation powder (we bought ours from eBay)
- Greece proof paper
- Tin foil
- Container
- Pan
- Necklace bezel (we bought ours from Amazon)
- Necklace chain (again we bought ours from Amazon)
You can use either UV or two part Epoxy Resin for necklaces. We do find that Epoxy Resin is less likely to discolour over time and is less prone to scratches.
Resin safety
Always check the safety instructions for your resin – they will vary between brands and should be followed carefully. We always recommend using Nitrile gloves as they will offer the best protection against epoxy resin.
Resin can stain and be difficult to get off from any surface. We recommend using a protective silicone mat or covering that will protect your work space. Be sure to take off any jewellery and wear protective or old clothing. When wet, Isopropanol spray and baby wipes will remove resin from hands and surfaces. When dry, you can simply pick resin off surfaces like silicone or some plastics.
(Part 1) Preparing the milk
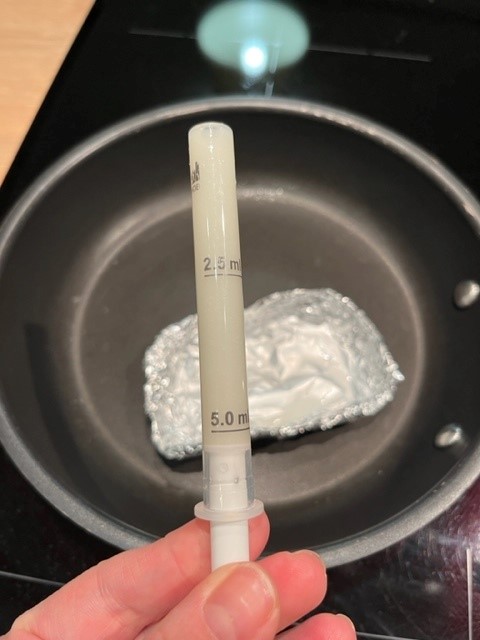
- Take 5ml of breastmilk (fully defrosted if frozen and very well mixed).
We found a medicine syringe really useful here. - Add the milk to a foil container and sit in a pan. We used kitchen foil to create a makeshift disposable bowl.

- Gently heat the milk and when steaming, slowly add breastmilk preservation powder with a small spoon or stick and stir to create a paste. You will only need a very small amount of powder – we used around 2.5g.
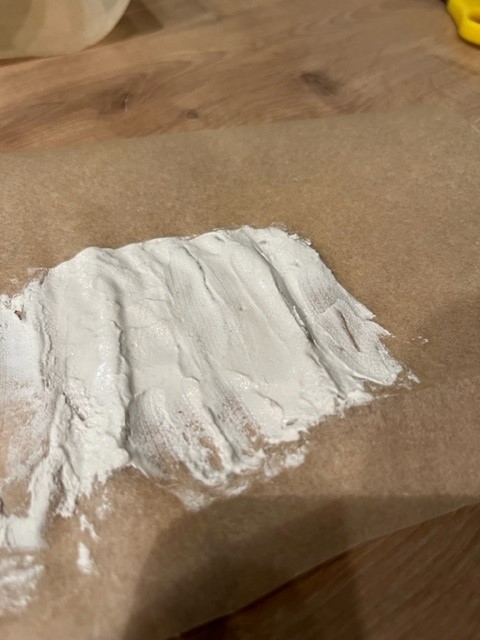
- Once you have a paste, take your milk off the heat and spread a thin layer over greaseproof paper.
- Let your paste dry for 24 hours to ensure there’s no moisture remaining.
- After 24 hours use a metal spoon or pestle and mortar to crush your mixture in to a very fine powder.
(Part 2) Adding your resin
Prepare Your Workspace:
Cover your work surface with a disposable covering or silicone mat to protect it from accidental spills. Wear gloves and eye protection for your safety. Always work in a well ventilated space.
Mix the Resin:
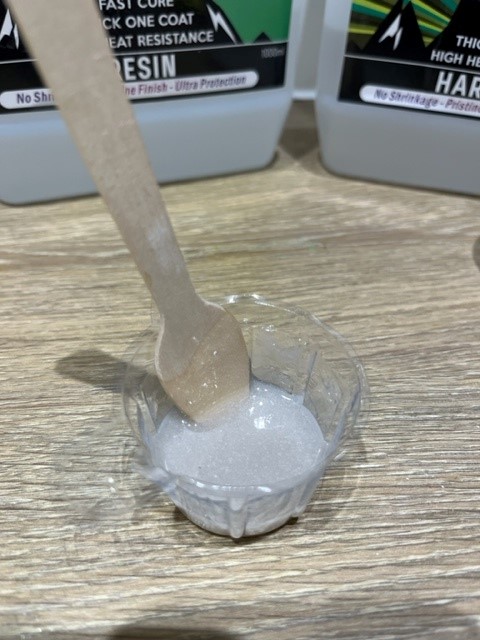
Ensure you follow instructions on the resin packaging for mixing ratios and times.
Accurate measurement is key to making sure your resin sets.
Stir the resin and hardener thoroughly but gently to avoid creating air bubbles (although you will always have some at this stage). This will usually take 3-5 minutes. your resin mix should be clear and streak free. Cloudy resin will not set properly.
Optional – add Colour:
If you want to add colour to your pendant, mix in resin pigments or mica powders. Start with a small amount and adjust to achieve the desired colour. Adding more than 3% of colour to resin can affect how the resin will set.
Add your powder:
Add a small amount of your milk powder at a time. You don’t want your resin to be too thick or you will end up with a bumpy finish.
Pour into the bezel:
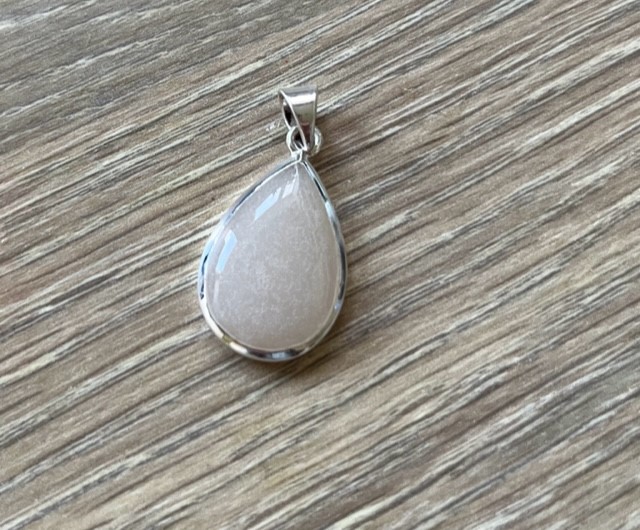
This can be the tricky bit! Carefully pour the mixed resin into the silicone mould or silver bezel. you may want to scoop with a silicone or wooden stick to ensure you are slowly filling your bezel without letting it overflow. It usually only takes a really small amount so be careful.
Remove Bubbles:
Sometimes leaving your necklace for a few minutes will be enough to allow bubbles rise to the surface and pop.
If you are still left with some bubbles, you can use a long necked lighter and hold the flame around 1-2cm away from your resin for a few seconds. A heat torch will likely be too powerful for such a small piece.
Curing:
Follow the curing instructions for your resin type. UV resin usually requires exposure to UV light for a few minutes, while epoxy resin may take 24-48 hours to cure. Place the mould or pendant in a dust-free area to prevent bits from settling on the pendant while it cures.
Attach Necklace Chain:
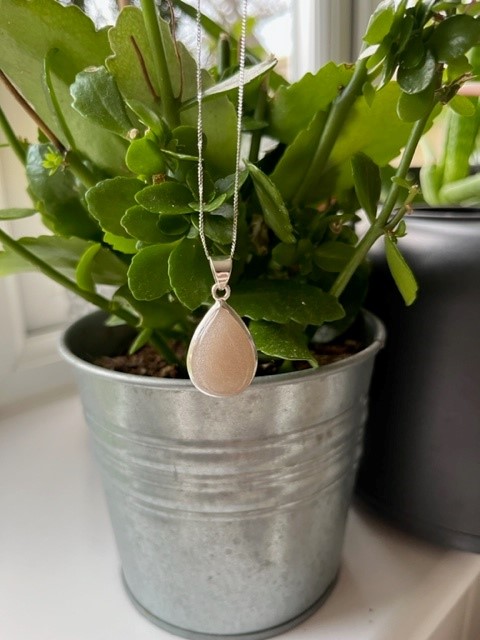
Thread a necklace chain through the pendant bail to complete your resin necklace.
Apr 15, 2024

